This article outlines the steps required to set up Single Sign-On [SSO] with Salesforce authentication. Users can then use Salesforce authentication to access the Spoke Phone mobile app, desktop app and account portal.
You will need to have an account with admin access to Salesforce to complete this configuration.
Contents
Setup Salesforce Identity Provider
Create and configure a Salesforce Connected App
Assign users to the Salesforce Connected App
Complete your Spoke Phone SSO configuration
Setup Salesforce Identity Provider
The first step is to set up a self-signed certificate in salesforce to enable salesforce as an Identity Provider for Spoke Phone SSO.
- Navigate to Setup > Settings > Security > Certificate and Key Management
- Click Create Self-Signed Certificate
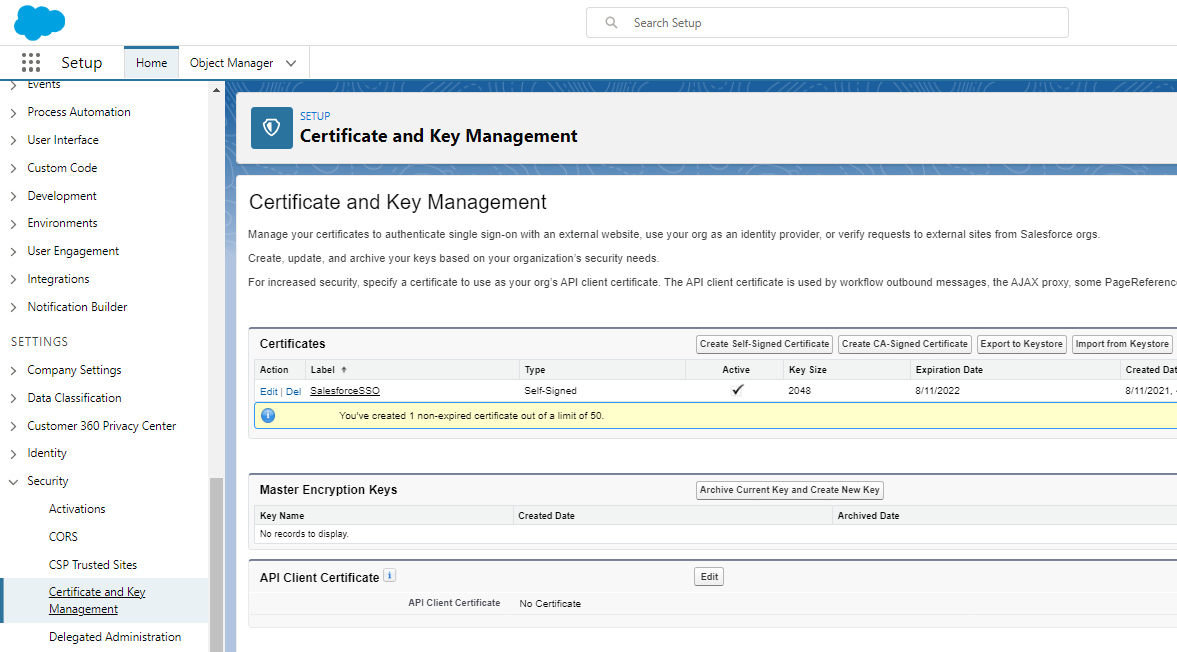
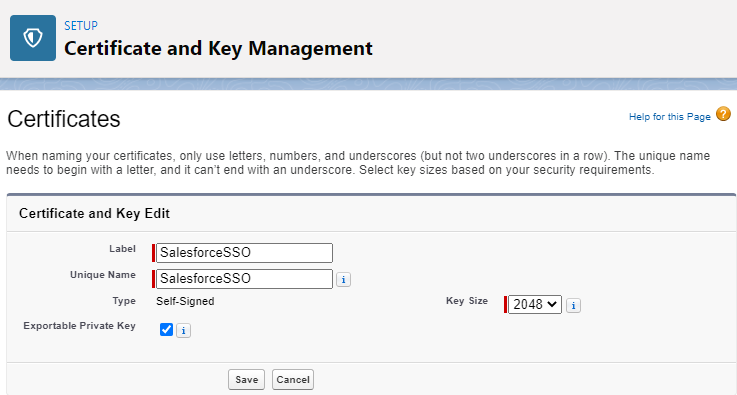
- Complete the Certificate and Key Edit fields as follows:
Label =salesforceSSO
Unique Name =salesforceSSO
Key Size = 2048 - Ensure the Exportable Private Key is ticked and click Save
- Navigate to Setup > Settings > Identity > Identity Provider and choose Enable Identity Provider

- In the Identity Provider Setup screen choose SalesforceSSO in the dropdown and click Save

Create and configure a Salesforce Connected App
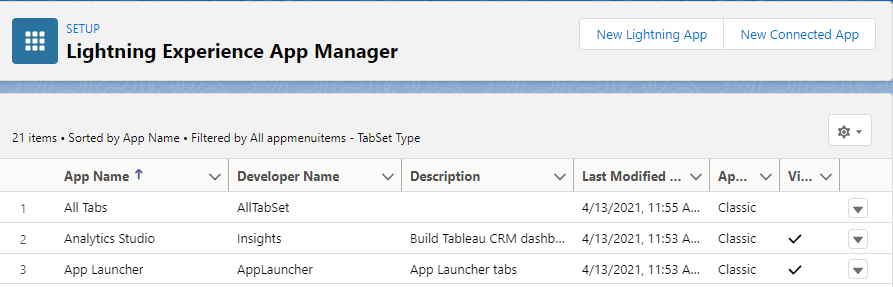
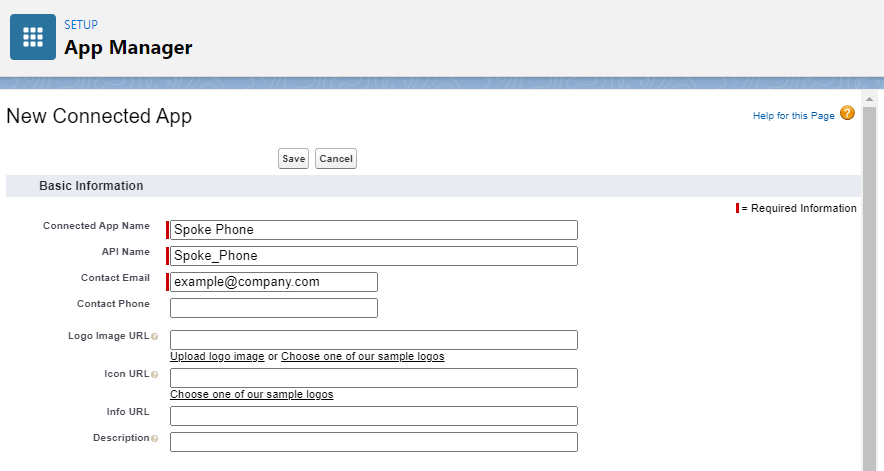
- Navigate to Setup > Administration > Apps > App Manager and select New Connected App
- In the New Connected App screen complete the Basic Information section as follows:
- Still within the New Connected App screen complete the Web App Settings section as follows:
Entity ID =urn:amazon:cognito:sp:us-east-1_QElIJGlYT
ACS URL =https://sso.spokephone.com/saml2/idpresponse
SubjectType = Select the option Username
Name ID Format = Select the option emailAddress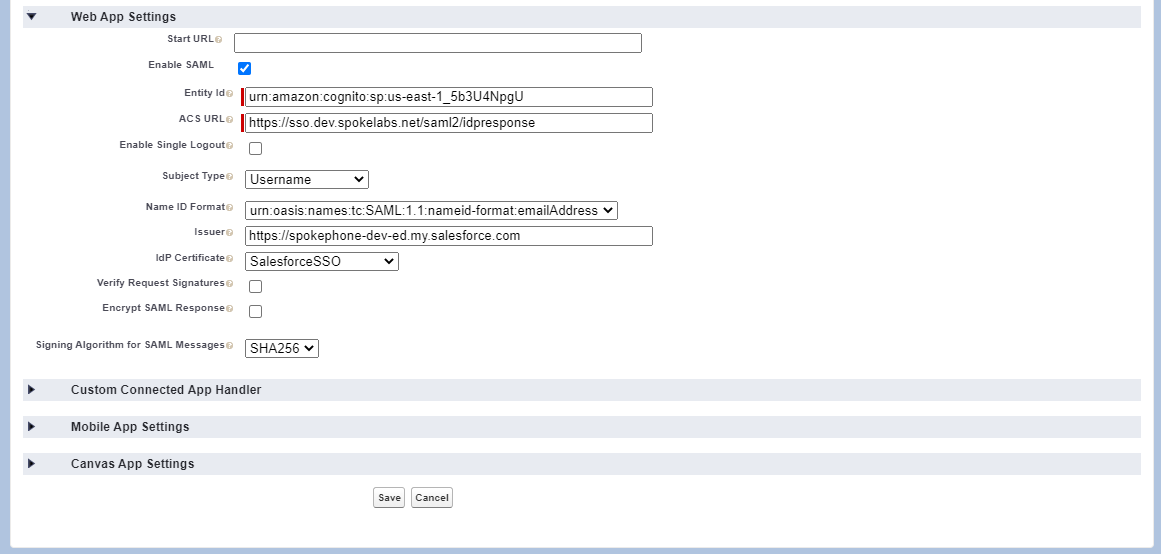
- Click Save at the bottom of the screen
- You should now be in Setup > Apps > Connected Apps > Manage Connected Apps > Spoke Phone screen
- Scroll to the bottom of this page and click New in the Custom Attributes section
Attribute Key=firstname
Attribute Value = Select Insert Field and choose User > First Name and click Insert - Click Save
- Click New in the Custom Attributes section
Attribute Key=lastname
Attribute Value = Select Insert Field and choose User > Last Name and click Insert - Click Save and check you have the following completed

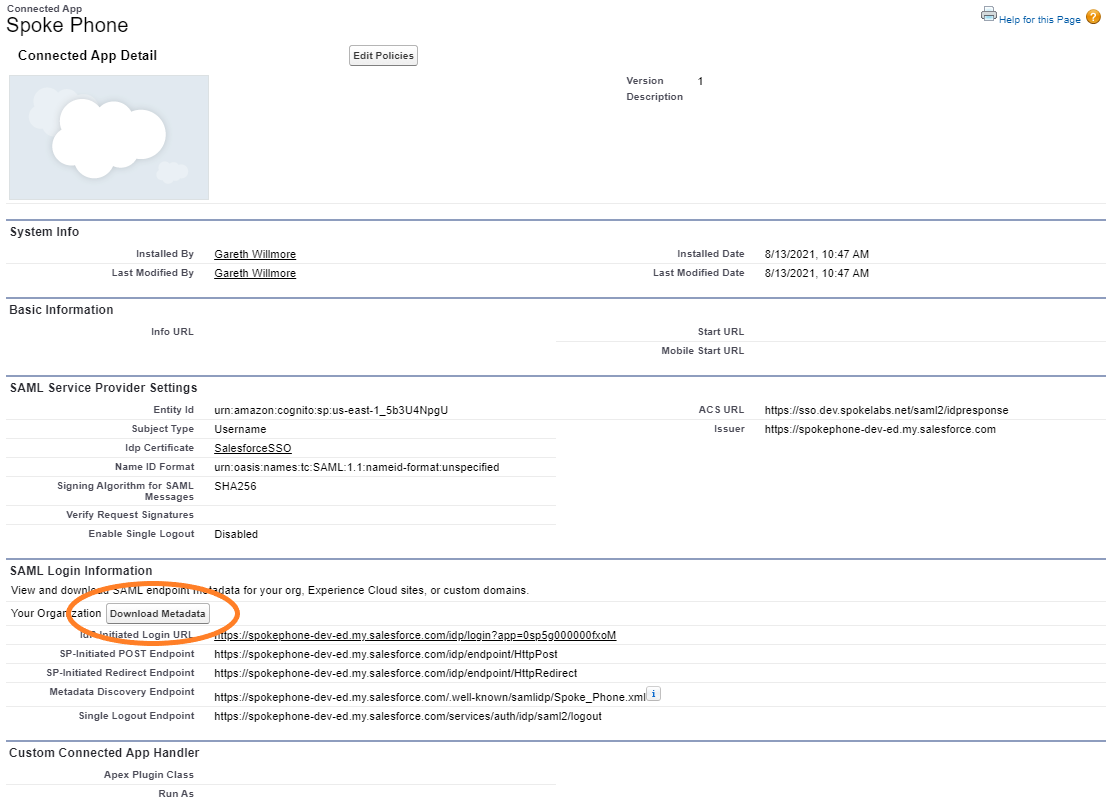
- You should still be in Setup > Apps > Connected Apps > Manage Connected Apps > Spoke Phone screen
- Find and select the button Download Metadata and save the file locally
Assign users to the Salesforce Connected App
- Navigate to Setup > Administration > Users > Profiles
- Select Edit against a profile that you wish to be enabled for Spoke Phone SSO
- Tick the Spoke Phone option in the Connected App Access section and then choose Save

Complete your Spoke Phone SSO configuration
- Go to your Spoke Phone account portal online and login
- Navigate to Other > Advanced and select the SINGLE SIGN-ON tab at the top of the Advanced page
- Enter in a Company Name and select Check availability
- Select Upload and choose the file (e.g.) SAMLIdP-xxxxx000000xxxx.xml you saved earlier
- Complete the SAML Response Mapping in the Spoke Phone Account Portal as follows:
Email =email
First Name =firstname
Last Name =lastname
User Provisioning
Currently, Spoke Phone SSO does not auto-provision users. You will need to ensure you have created the users in the Spoke Phone Account portal with the matching email addresses in your Identity Provider.
TIP: You can download a list of salesforce users, manipulate the file and then easily upload users directly into the Spoke Account portal.
- For downloading a CSV list of users from salesforce see https://help.salesforce.com/s/articleView?id=sf.exporting_data.htm
- For uploading users to Spoke Phone see How to bulk-add and invite users to Spoke Phone by email address